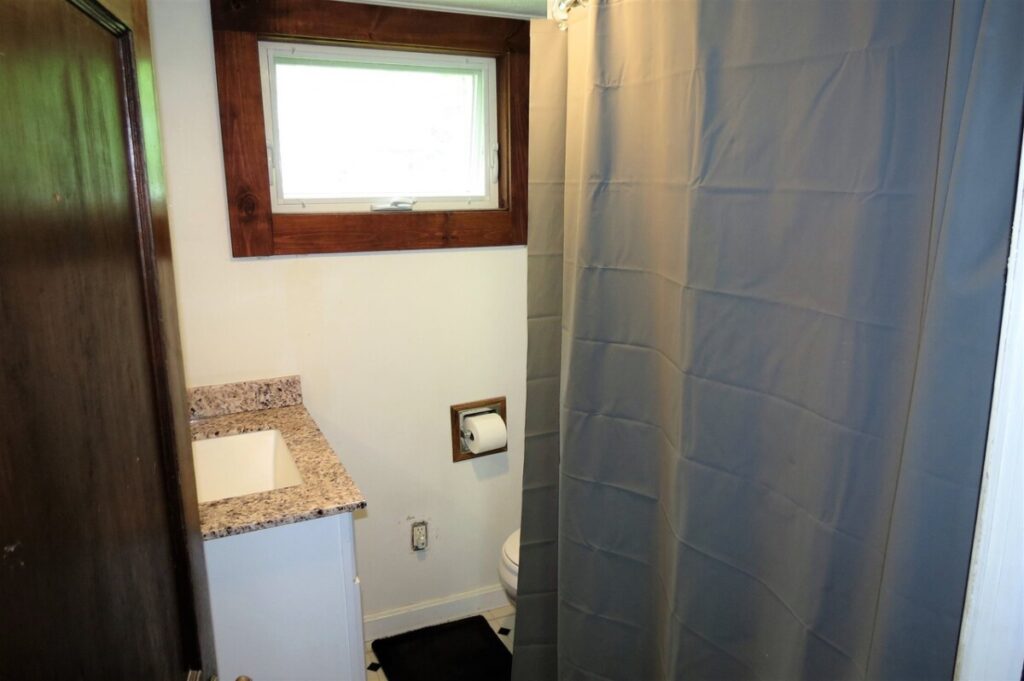
The day I walked into the bathroom of my little cottage, I knew it needed some love.
The previous owners had done their best to freshen it up before selling the house, but it felt like a collection of different decades rather than one cohesive space. The dark wood door and window trim reminded me of a 1960s mountain hunting camp. Even the toilet paper holder had dark stained wood accents. The oversized vanity featured a pink faux-granite countertop straight out of the 1980s, sitting on a stark white cabinet that completely overwhelmed the room.
When I say it was painfully large, I mean it literally. I lost count of how many times I walked into that sharp corner and ended up with another bruise on my thigh.
The tiny bathtub wasn’t ideal for soaking, but it made a wonderfully cozy shower. Replacing it wasn’t in the budget yet, so I focused on the things I could change.
That’s when I started dreaming.
Working With What You Have
I’ve always believed that a beautiful home doesn’t have to come from a big budget.
My income is modest, and I genuinely love finding secondhand treasures and giving them a new life. Living in a 520-square-foot cottage has also taught me to be intentional. I don’t bring anything into my home unless I already know where it will live. There simply isn’t room for “just in case.”
When it came time to replace the bathroom vanity, I remembered a project I’d been saving on Pinterest for years: turning a vintage dresser into a bathroom vanity with a vessel sink.
It felt like the perfect opportunity to create something custom while staying within my budget.
Finding the Perfect Vintage Dresser
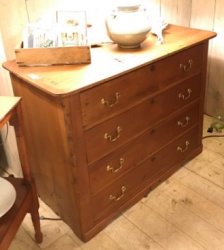
I spent weeks visiting my favorite antique and vintage furniture shops throughout Vermont.
In my mind, I knew exactly what I wanted—a low, wide pine dresser with simple lines and solid construction.
Eventually, I found it at one of my favorite shops in Chester, Vermont.
It was tucked away in a corner with an orange-toned finish that had definitely seen better days. The gold drawer pulls were chipped, but underneath all of that was a beautifully built dresser made from solid wood with a beadboard back.
Even better?
It was only $80.
I knew immediately it was coming home with me.
What to Look for When Choosing a Dresser
If you’re thinking about creating your own dresser vanity, here are a few things I’d recommend looking for:
- Solid wood construction
- A plywood or beadboard back that’s easy to modify for plumbing
- Strong, well-built drawers
- The right height and width for your bathroom
- Enough countertop space without overwhelming the room
- A wood style that complements your home’s character
Choosing the right dresser makes the rest of the project much easier.
Sanding and Refinishing
The first step was removing the old finish.
I used my Ryobi Mouse Sander with sanding pads ranging from 80-grit to 220-grit. It didn’t take nearly as long as I expected, and watching the natural pine emerge was incredibly satisfying.
I absolutely love the look of unfinished wood.
The challenge was protecting it from moisture while keeping that natural appearance.
After quite a bit of research, I decided to use Minwax Polycrylic because I already had it in my basement. It has held up well, although if I’m being honest, I would probably experiment with another finish if I were doing this project today. The slight sheen and warmth aren’t exactly what I envisioned, but the durability has been excellent.
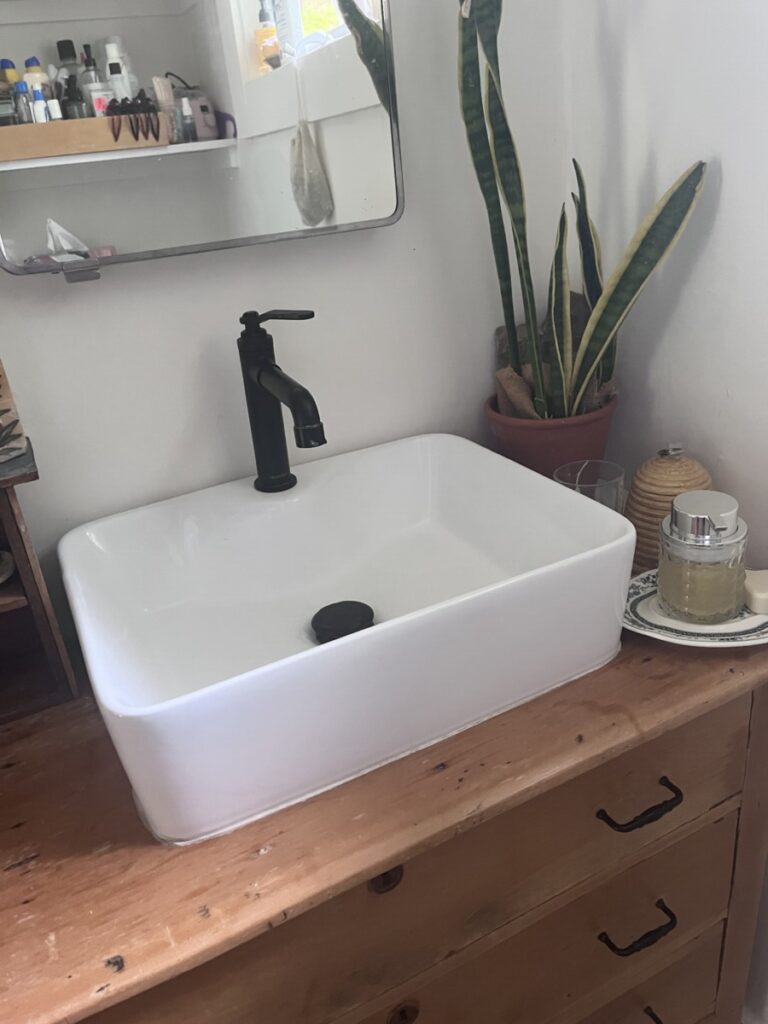
Choosing the Vessel Sink
This may have been the hardest decision of the entire project.
I knew I wanted a vessel sink because I love the furniture look it creates. After spending far too many evenings browsing Pinterest, I found myself drawn to marble, stone, concrete, and handmade ceramic bowls.
As beautiful as the colored glass sinks were, I realized they would require constant cleaning to stay looking fresh.
In the end, I kept things simple.
I ordered a white rectangular porcelain vessel sink from Amazon, and I’m so glad I did. It has a timeless look that works with just about any decorating style and is easy to keep clean.
Finishing Touches
Originally, the dresser had worn gold drawer pulls.
Since I had decided on a vintage-inspired matte black faucet, I swapped the hardware to matching matte black drawer pulls for a cohesive look.
The faucet I chose is a solid brass Newater lavatory faucet from Amazon, and years later, it still works beautifully. It isn’t available anymore, but I did find a similar faucet in case you were interested.
Sometimes it’s those small details that make an entire project feel intentional.
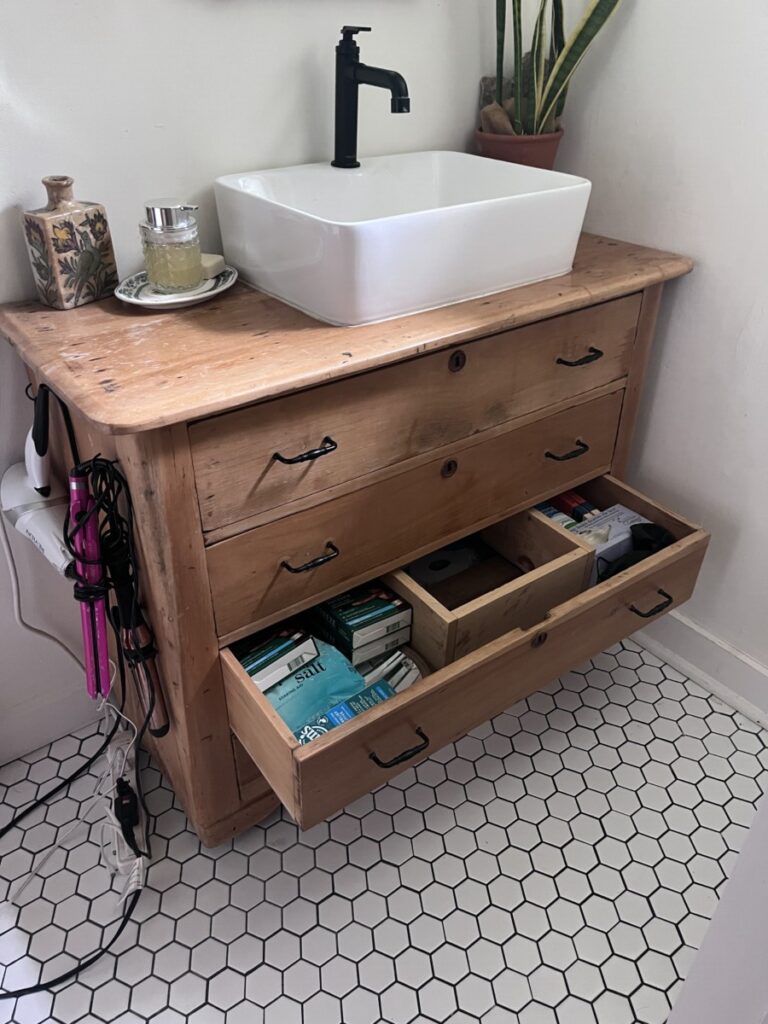
Making Every Drawer Count
One of the biggest improvements over the original vanity wasn’t just how it looked—it was how it functioned.
The old vanity was basically one large empty cabinet with very little usable storage.
By converting a dresser, I more than doubled my storage space.
I used my Ryobi cordless circular saw to carefully cut openings in the back of the dresser for the plumbing. Then I customized each drawer individually, removing only the portions necessary to accommodate the drain and water lines.
The bottom drawer didn’t require any modifications at all, leaving an entire deep drawer for storage.
In a tiny bathroom, every inch matters, and this project made the room feel much more organized.
Would I Do It Again?

Without hesitation.
This remains one of my favorite DIY projects in my cottage.
It completely changed the personality of the bathroom while adding much-needed storage, and every time I walk into the room, it makes me smile.
Projects like this remind me that creating a home you love isn’t about spending the most money. It’s about seeing potential where others might not.
Sometimes all it takes is an $80 dresser, a little imagination, and the willingness to pick up a sander.
If you’re considering turning a vintage dresser into a bathroom vanity, I hope this gives you the confidence to try. It isn’t the quickest project, but it’s absolutely one of the most rewarding.
I’d love to know—would you ever use a vintage dresser as a bathroom vanity? Let me know in the comments below!